Optimal Timing for Tuckpointing Repairs
Spring offers moderate temperatures and low humidity, ideal for tuckpointing projects to ensure proper curing and adhesion.
Early summer is suitable, provided temperatures are not excessively high, which can affect mortar setting and drying times.

Fall provides cooler, stable weather, reducing the risk of moisture-related issues during repair work.
Ways to make Tuckpointing Repairs work in tight or awkward layouts.
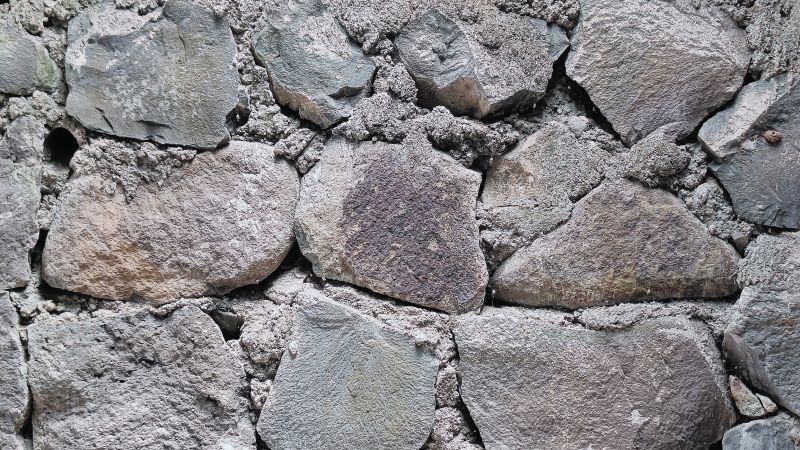
Popular materials for Tuckpointing Repairs and why they hold up over time.

Simple add-ons that improve Tuckpointing Repairs without blowing the budget.
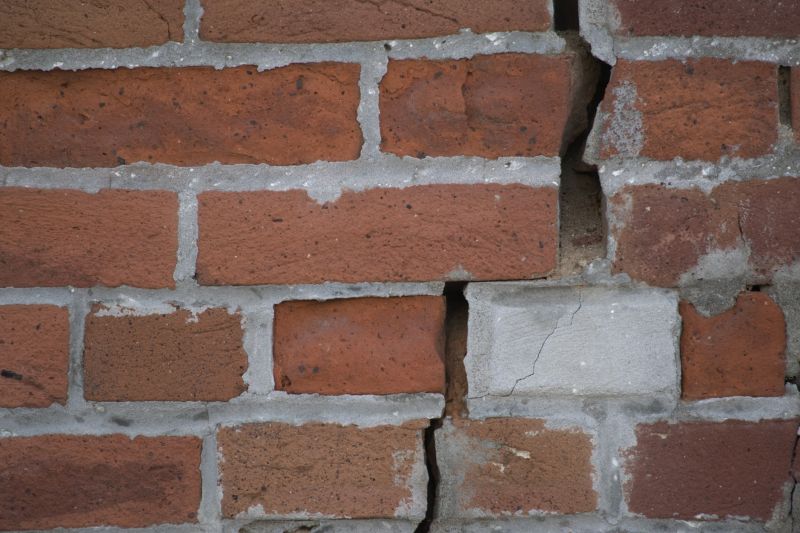
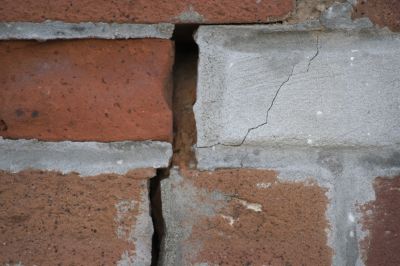
Tuckpointing repairs are essential for maintaining the structural integrity and appearance of brick or stone masonry. Proper timing ensures that mortar bonds correctly and that repairs last longer. Weather conditions significantly impact the success of tuckpointing, with ideal conditions characterized by mild temperatures and low humidity. Extreme heat or cold can cause mortar to cure improperly, leading to cracks or reduced adhesion. Additionally, moisture during application can compromise the repair, making dry, stable weather preferable.
Tuckpointing is best performed when temperatures are between 40°F and 85°F, with low humidity levels to promote proper mortar curing.
Spring and fall generally provide the most suitable conditions, while winter requires additional precautions or postponement.
Monitoring weather forecasts helps schedule tuckpointing projects during periods of stable, dry weather for optimal results.
Timing repairs during favorable weather conditions enhances the longevity of tuckpointing work, reducing the need for frequent repairs.

Ideal for moderate temperatures and dry conditions, ensuring mortar sets properly.

Best in early summer mornings when temperatures are cooler and humidity is lower.

Suitable due to cooler, stable weather, reducing moisture-related issues.
Generally discouraged unless performed during mild winter days with minimal precipitation.
High-end options that actually feel worth it for Tuckpointing Repairs.

Finishes and colors that play nicely with Tuckpointing Repairs.

Little measurements that prevent headaches on Tuckpointing Repairs day.

A 60-second routine that keeps Tuckpointing Repairs looking new.
| Season | Recommended Conditions |
|---|---|
| Spring | Moderate temperatures, low humidity, dry weather |
| Summer | Early mornings, avoid peak heat, low humidity |
| Fall | Cool, stable weather, low moisture |
| Winter | Only in mild, dry days, avoid freezing temperatures |
Proper timing of tuckpointing repairs can significantly influence the durability and appearance of masonry structures. By scheduling repairs during suitable weather conditions, the mortar can cure correctly, preventing future deterioration. Ignoring seasonal considerations may result in compromised work, leading to increased maintenance costs and reduced structural integrity over time.
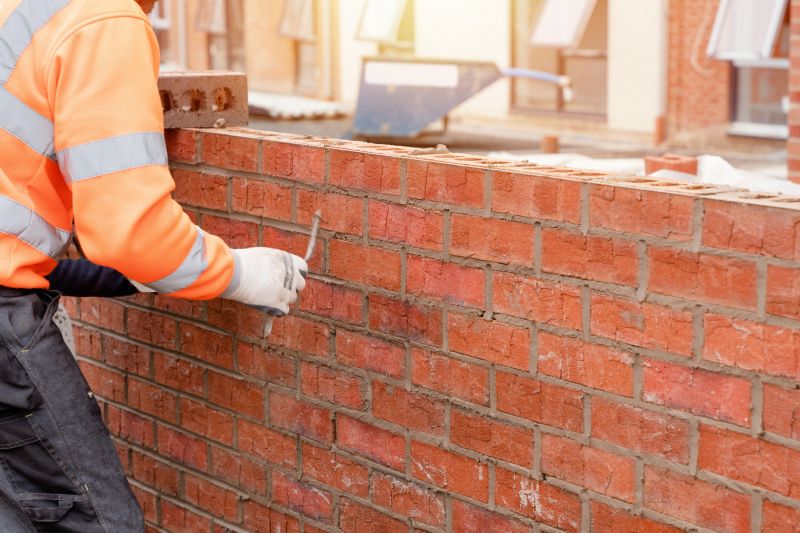
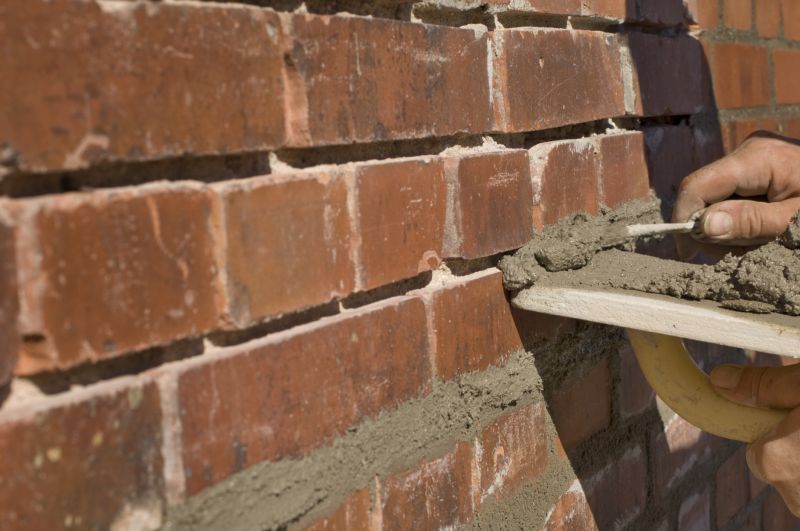
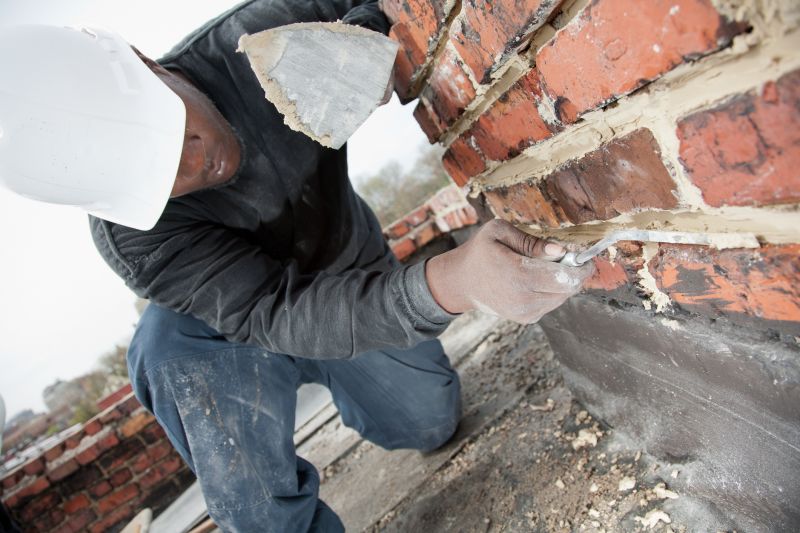
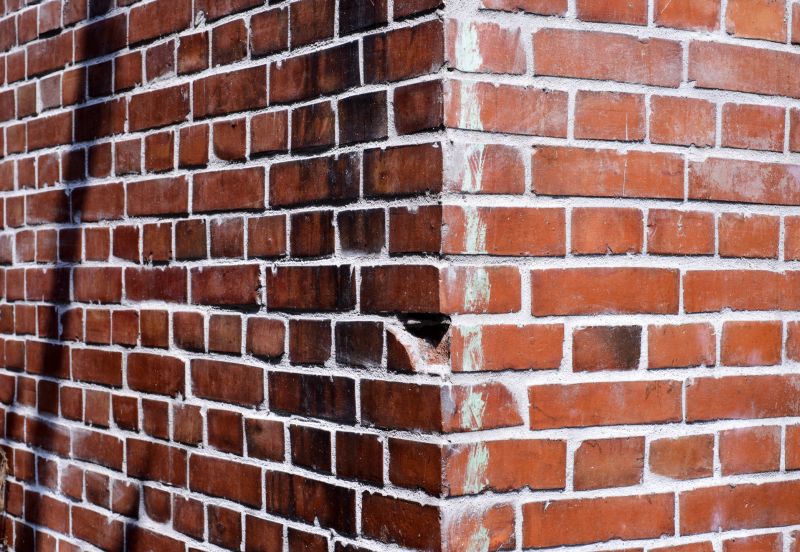
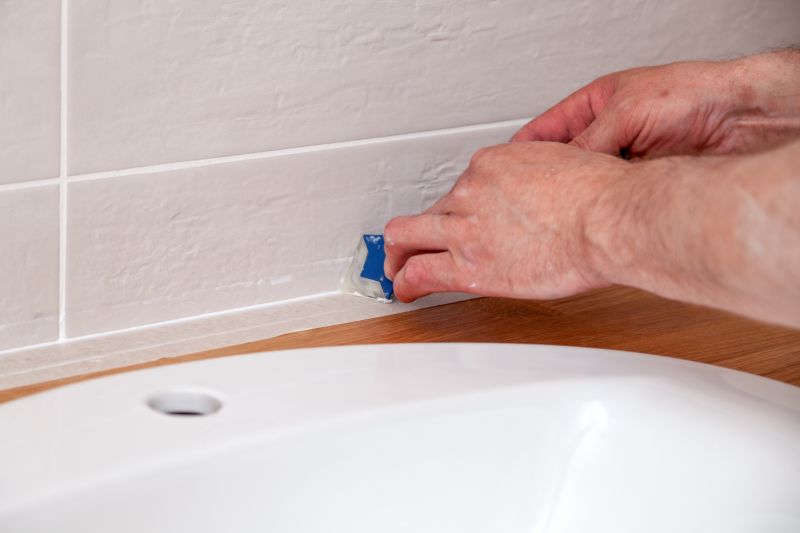
A professional crew performing tuckpointing during optimal weather conditions.
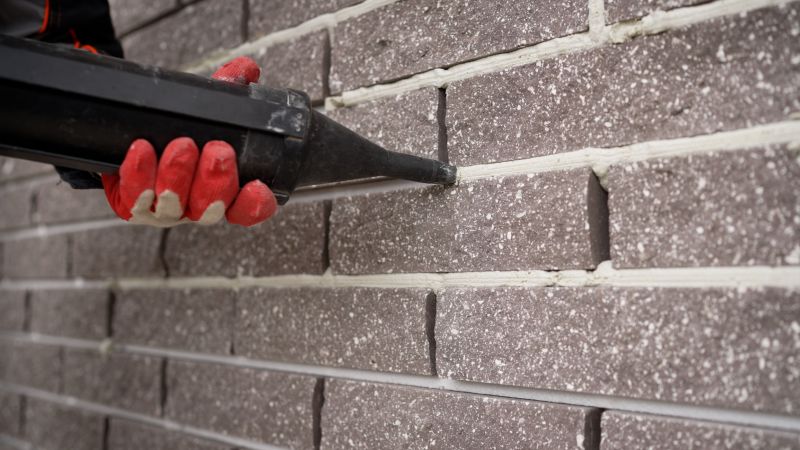
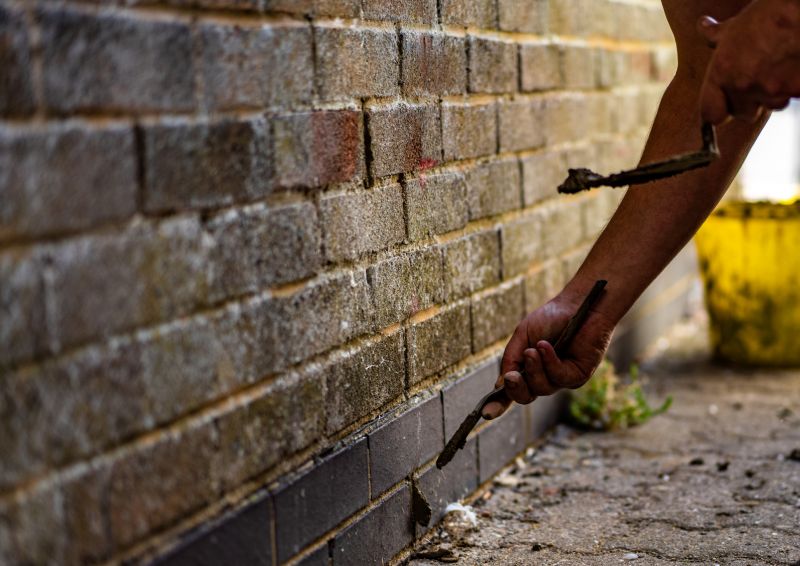
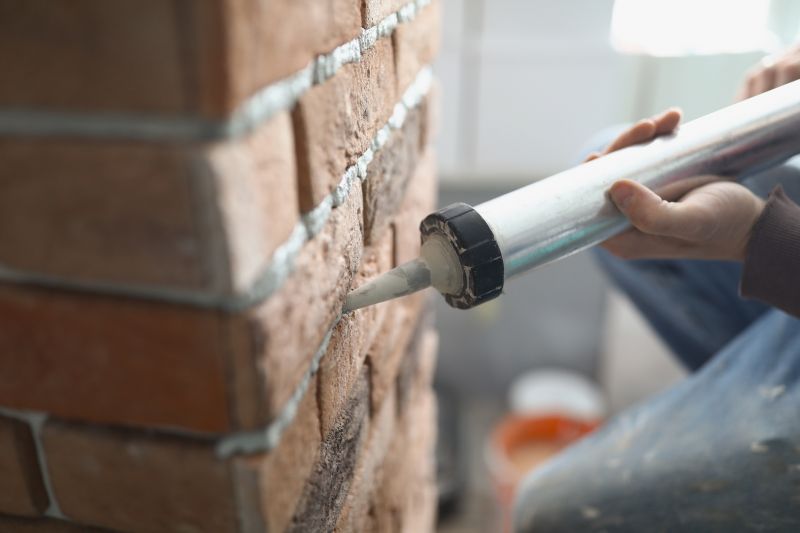
Ensuring mortar is applied in dry, moderate weather to maximize adhesion.
Planning projects around forecasted dry days for best results.
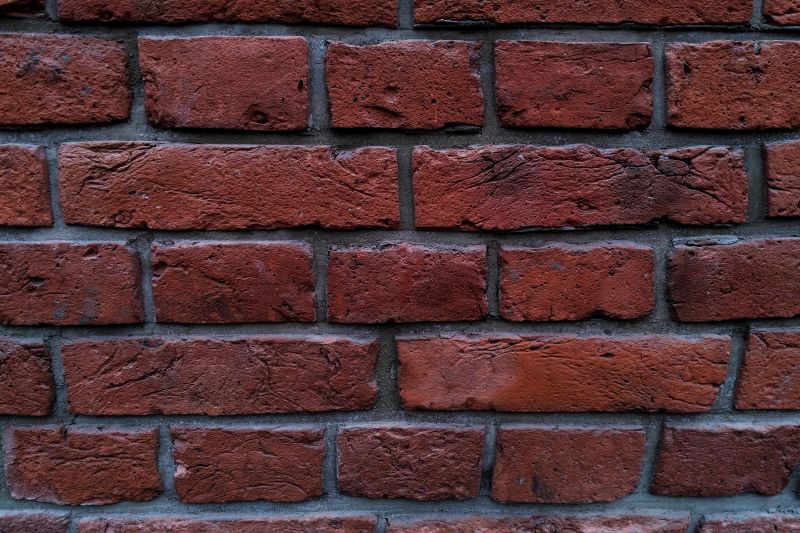
Completed repairs with durable mortar joints, ready to withstand weather changes.
A frequent mistake in Tuckpointing Repairs and how to dodge it.

Small tweaks to make Tuckpointing Repairs safer and easier to use.
Lower-waste or water-saving choices for Tuckpointing Repairs.
The short, realistic tool list for quality Tuckpointing Repairs.
Interested in scheduling tuckpointing repairs? Filling out the contact form provides an opportunity to discuss timing options and ensure the work is completed under optimal conditions for lasting results.